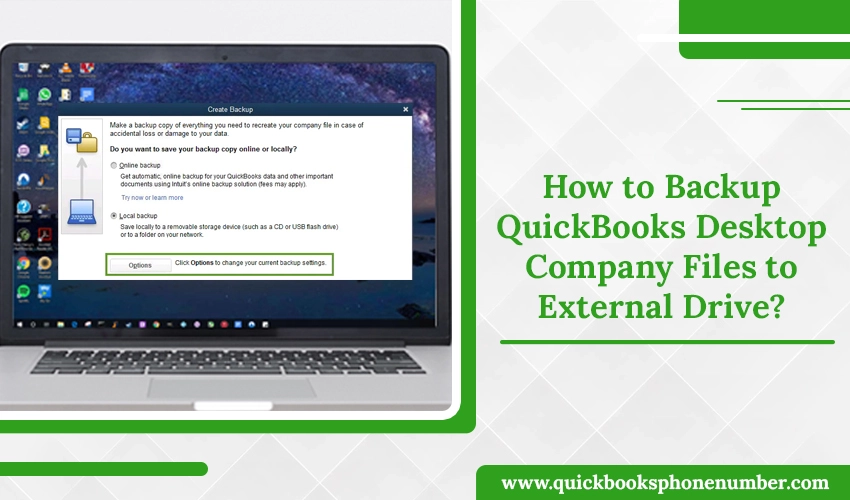
QuickBooks is well-known accounting software mainly used to handle small and medium-sized business finances. It organizes and stores all the income and expenses and tracks financial health. But what if it crashes or undergoes technical glitches that can delete your entire accounting data. This can be a severe issue for the business. To prevent these situations, one should always create a backup of their QuickBooks Desktop and save it in the local or external drive. If you don’t know how to backup QuickBooks Desktop to flash drive, then don’t worry; we are here. This blog will provide the steps to backup your QuickBooks desktop files to an external drive. Here we go.
Also Read: Convert QuickBooks Desktop To Online
How to Backup QuickBooks Desktop Pro, Premier, Enterprise?

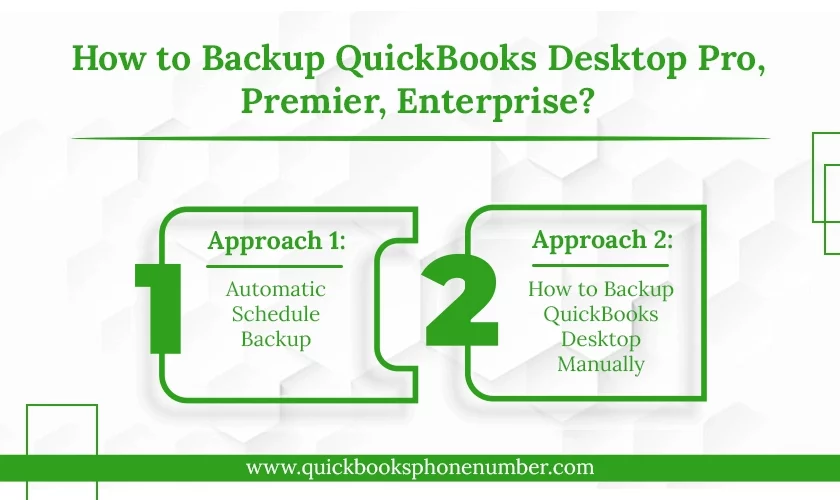
It is always important to backup your QuickBooks Desktop company files. It contains everything, including accounting data, Cash Flow Projector, Templates, Laon Manager, Images, Statement Writer, Business Planner, logos, and other related files. But unfortunately, it doesn’t back up the payroll forms. There are two approaches for How to backup QuickBooks Desktop to external drive. These are:
Approach 1: Automatic Schedule Backup
In this process, QuickBooks will backup your company files automatically on a planned schedule. Here’s how:
- Open QuickBooks and go to File.
- Select Switch to Single-User Mode.
- Now, go to the File section again and move over Back up Company.
- Select Create Local Backup and then Local Backup. Click Next.
- From the Local Backup Only section, click on Browse and choose a location to save the backup company file(anywhere on the computer).
- Now, set the number of backups. This is optional.
Note: You can use the Online and Local backup section to organize backup reminders.
- After that, click on Complete verification from the Online and Local Backup This will run a test that ensures that your backup files are in good condition before saving them.
- Now, select OK and proceed with how to backup QuickBooks Desktop.
- Later, choose the “Save it now and schedule future backups” option and click Next. If you are not willing to save the backup now, choose “Only schedule future backups.”
- Next, check the “When I close my company file save backup copy automatically”
- Choose a time between the backups (For Example – 1 month or two months, it can be a date).
- Now, to create a schedule, click on New and fill out the data fields. You can set a particular day and time of the week. Click OK for the next step of how to backup QuickBooks Desktop.
- When QuickBooks asks, enter the Windows sign-in password. The QuickBooks get permission to operate the scheduled backup.
- To create the backup, click on Finish.
- You will get a confirmation message when the backup creates.
- Now, go to the folder where the backup is stored and copy the backup file.
- Insert a flash drive or external drive into the system and paste the backup.
Approach 2: How to Backup QuickBooks Desktop Manually
If you don’t want to create the backup with the automated process, then we have the manual method for you. Just follow the stated steps:
- Open QuickBooks and choose the File menu.
- Then, select Switch to Single-User Mode.
- Relocate yourself to the File menu again and choose the Backup Company option. Then choose to Create Local Backup.
- Now, choose Local Backup and click on Next.
- When the Local Backup Only window appears, click on browse and choose the desired location to store the company backup file.
- Now, set the number of backups. (This is optional for how to backup QuickBooks Desktop procedure)
- This will run a test to ensure your backup files are completely fine before you save them.
- When you are ready, click on OK.
- After that, click on save it now and next.
- When the backup finishes, you get a confirmation message.
- Now plug a flash drive and copy the backup from the stored location.
- Lastly, paste the Backup file into the flash drive.
In how to backup QuickBooks desktop process, you can also adjust the backup settings in the next section. You can also use the QuickBooks Migration Tool.
How to Adjust Backup Settings?
If you want to see the last backup of the QuickBooks Desktop company file, go to File and click on Back up Company; you will be able to see the time and date at the top.
With the given steps, you can change the backup settings:
- Go to the File and then Back up Company File.
- Now, click on Create Local Backup option.
- Click on Options.
- From here, make changes according to your preferences and click OK.
How to Restore QuickBooks Desktop Backup File?
When you are finished with how to backup QuickBooks Desktop company file procedure, you should also know the backup restoring process.
If your backup company file is stored in any external drive, it’s important to move it into the system’s local hard drive first to restore the company file. Follow the given steps:
- Go to the File menu.
- Click on Open or Restore Company.
- Now, choose Restore a Backup Copy and click on Next.
- Later, click on Local Backup and then Next.
- Now, go to the location where the backup company file is stored.
- After that, choose a folder to save the restored company file and click Open.
Note: Don’t save the restored company file in the same folder where the backup is stored. It will overwrite your data. To avoid overwriting, rename the backup company file or existing company file. You can also save the backup in another folder.
- When you are ready, click on Save.
Finishing Up
With the other information, we try to help you with how to backup QuickBooks Desktop Company Files. We present the two approaches, the automated and the manual process. You can also change the backup settings with the above-stated steps. Sometimes while creating a backup, you can experience errors like 2277. In such a case, if you cannot create a backup, dial QuickBooks support number +1-520-463-7633 for instant help and support.